
Donorbox is a popular donation plugin for a WordPress site that offers an opportunity for every non-profit organization to collect donations for a given cause. It offers plenty of exciting features for every user that makes it a suitable donation plugin for every type of organization. Many experts recommend the use of Donorbox for initiating a donation campaign on a WordPress website. Many people don’t really know the exact procedure to accept donations on the WordPress site using Donorbox.
Before we dive deep into the procedure to accept donation using Donorbox, we must introduce you with the popular features that make Donorbox a suitable donation plugin to accept the donation. Donorbox ensures a fast checkout process in order to help people pay fast payments. It offers high-level security with the use of SSL/TLS encryption techniques. One can customize the Donorbox plugin and also integrate it with other applications. It helps to simplify the taxation system and allows every fundraising campaign to monitor its fundraising efforts using google analytics.
Procedure to Accept Donations Using Donorbox
Below, we have explained in detail all the steps one needs to take into consideration in order to accept donations on a wordpress site using the Donorbox plugin. One needs to follow all the four steps mentioned below in order to accept donations using Donorbox.
Creation of a Donorbox Account
The first step in launching an online donation campaign is the creation of a Donorbox account by following simple steps. This will not take more than a few minutes and the registration process doesn’t demand any documents from people registering on this platform. In order to set up a donation account, one only needs to enter an email address, password, and other basic details to start a donation process.
Create a Campaign Form
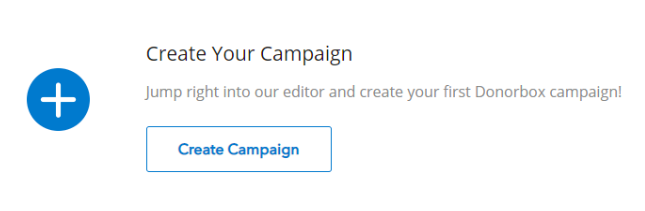
By visiting the Donorbox dashboard, you need to create a campaign form by clicking on the “Create Campaign” link and it will take you to a Form Builder page. On this page, you will be required to enter the name of a campaign and provide a description about it. Proper guidance will be made available to build a campaign form by following easy steps.
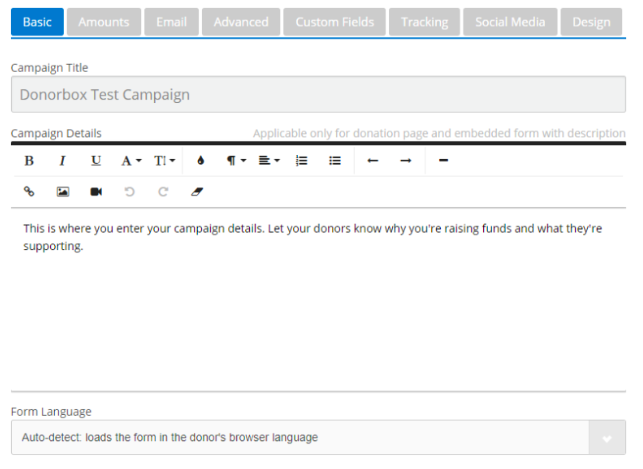
You can also customize it as per your requirements by carrying out necessary operations. One can add pre-filled donation amounts, edit automated email receipts in a form. In addition to this, one can also add customized questions and initiate different recurring intervals. After completing the customization tasks as per your preference, you are required to click “Save & Preview” to save the changes made by you.
Addition of a Payment Processor
On Donorbox, you can add two payment processors namely, Stripe and Paypal in order to introduce a safe, efficient, and cost-effective payment medium to donors. Although both the payment processors namely Stripe and PayPal offer a high level of security, it is recommended to use Stripe if you choose one.
Choosing both of these payment processors will allow you to accept donations on the WordPress site in an effective manner. This will help the users to choose a suitable method of payment for a given period of time. For a donation value of less than $1000 per month, Donorbox doesn’t charge any fee. And for a greater value, it only charges a transaction fee of 1.5% for a total of month’s donations.
- For Connection to Stripe
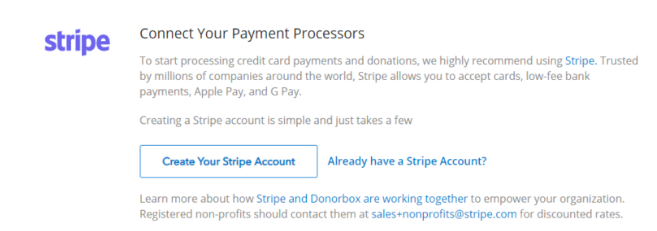
In order to connect to Stripe, one needs to click on the “Create Your Stripe Account” button on the Donorbox dashboard. You need to fill out the form and it will redirect you to the Donorbox dashboard. Using Stripe, one can ensure the transfer of funds from the Stripe account to one’s bank account.
- Connect with PayPal
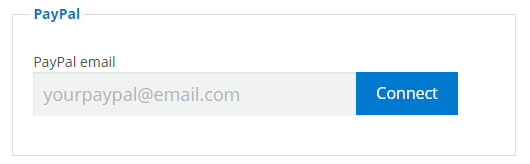
Similar to Stripe, one can connect to PayPal account through the Donorbox dashboard but it is only possible to make use of business PayPal accounts as a Personal PayPal account is not allowed. One needs to initiate the procedure to transfer the funds from the PayPal account to one’s own personal account. And the transfer of funds will take a time period of 2-3 days.
Go Live
After you are done with the creation of a campaign form, it is important for you to launch it live to accept a donation on the WordPress site. All you need to do is to choose one of the four options mentioned below:
- Donation Page
- Embedded form
- Popup form
- Donate button
Here is a guide as well that will help you in getting started.
So, this is the entire procedure that you need to complete in order to accept a donation from people on your WordPress site using the Donorbox plugin. By following the above-mentioned steps, you will easily be able to set up a donation platform for every donor to take part in it effectively. And in order to understand and execute all the steps, no one needs to have any programming experience. As we mentioned the images with every step, it will be easier for everyone to launch the donation platform in an easy manner.